Simple Polaroid Design
This tutorial will show you how to get a nice polaroid image effect just using standard shapes and images, not difficult to follow and can be used in many projects, e.g. Family Holiday Photos, Weddings etc…
Very easy to follow and not complicated to complete PSD files included incase you need any extra help.
Step 1 - New Document
First of all make a new document size 500 x 500 and fill the background with default black.
Step 2 - Draw a Rectangle
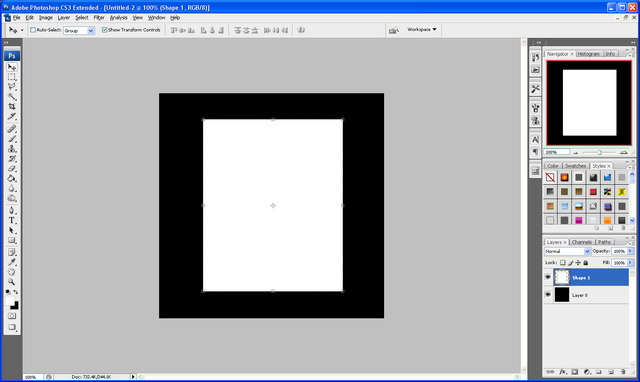
Now choose the “Rectangle Tool” and draw a fairly large white rectangle as shown below, and then right click this layer and choose “Rasterize Type”:
Step 3 - Delete The Inside of The Rectangle
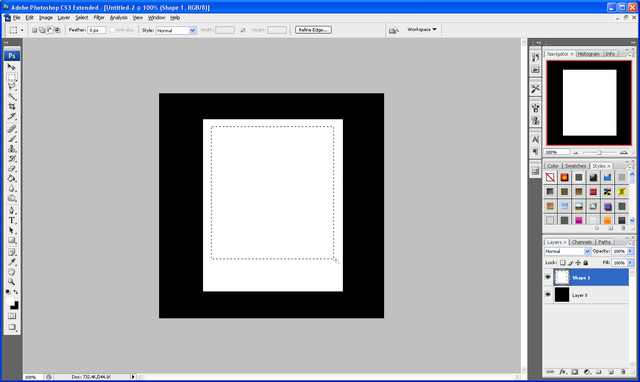
Now choose the “Rectangular Marquee Tool” and draw a selection as shown below, once happy with your selection simply press delete and it should delete the selection and you will end up with a Polaroid shape:
Step 4 - Apply Blending Options
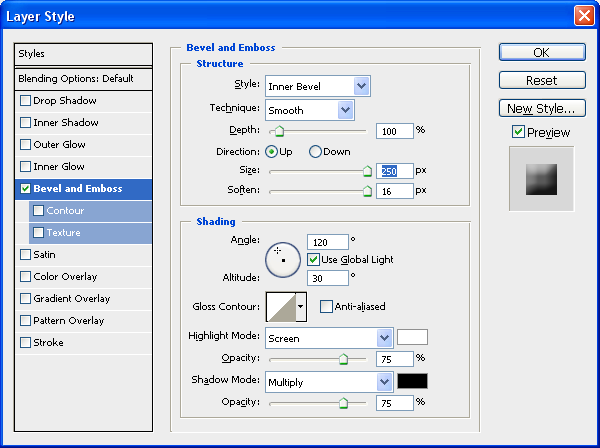
Now double click the Polaroid layer which should bring up the “Blending
Options” and use the settings below:
Step 5 - Drag and Drop Polaroid Template
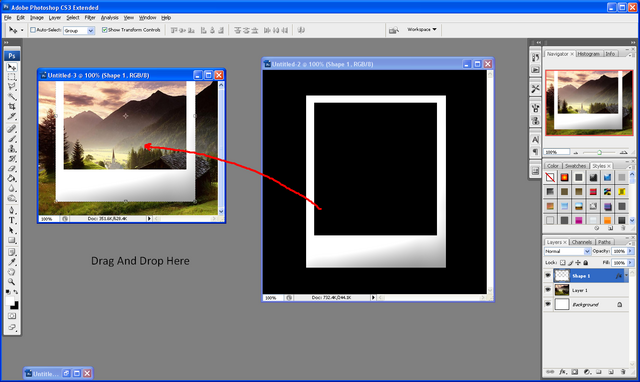
To put a picture into the Polaroid simply find the picture you want and open it up in a new document, when this is done grab the move tool on the Polaroid document and drag and drop the Polaroid onto the image document as shown below:
Step 6 - Resize and Position
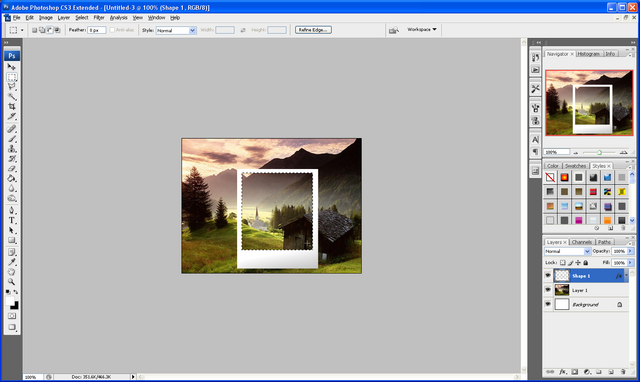
Now resize and position your Polaroid onto the image so that you are happy with the selection
Step 7 - Copy The Image Inside of The Polaroid
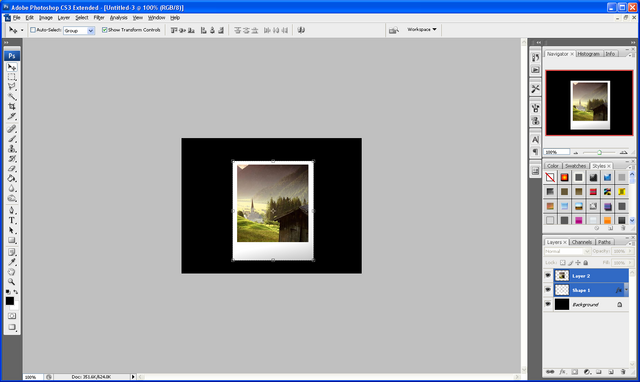
Now again grab the “Rectangular Marquee Tool” and select the inner part of the Polaroid image, with the original image selected choose the move tool and simply press CTRL +C and then CTRL + V to copy and paste the selected image, now go back to the original image layer and press delete to leave you with the image below:
Step 8 - Apply More Blending Options
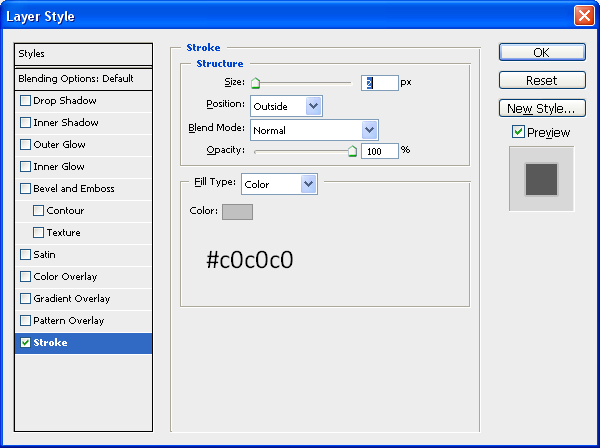
Next double click the selected part of the image layer and it will bring up the blending options now use the settings below:
Step 9 - Write The Title of The Polaroid Image
To finish simply choose the text tool and the font “Lucida Handwriting” and write out the title of the image on the whit space at the bottom of the Polaroid.
Final Image:
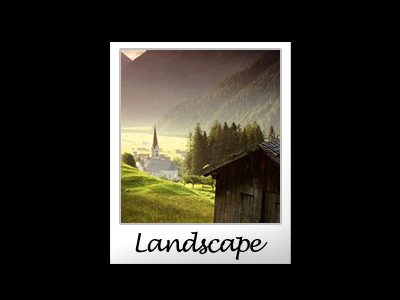
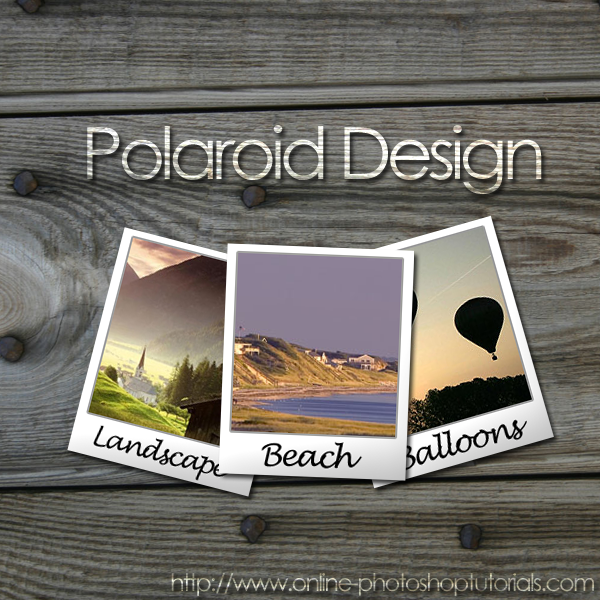
You can now make some more and compile them into an image like the one I have made below, very effective when displaying special photo’s e.g. holiday or baby photo’s.
Composition:
If you have had any problems with this tutorial then don’t hesitate to contact me and I will get back to you as soon as I can.
