Blending Modes, Explained: What Photoshop Is Actually Doing to Your Pixels
Most designers use blending modes by feel, cycling through the list until something looks right. That works up to a point. Knowing the math behind them is what lets you predict the result before you try it.
Why Most Explanations Don’t Stick
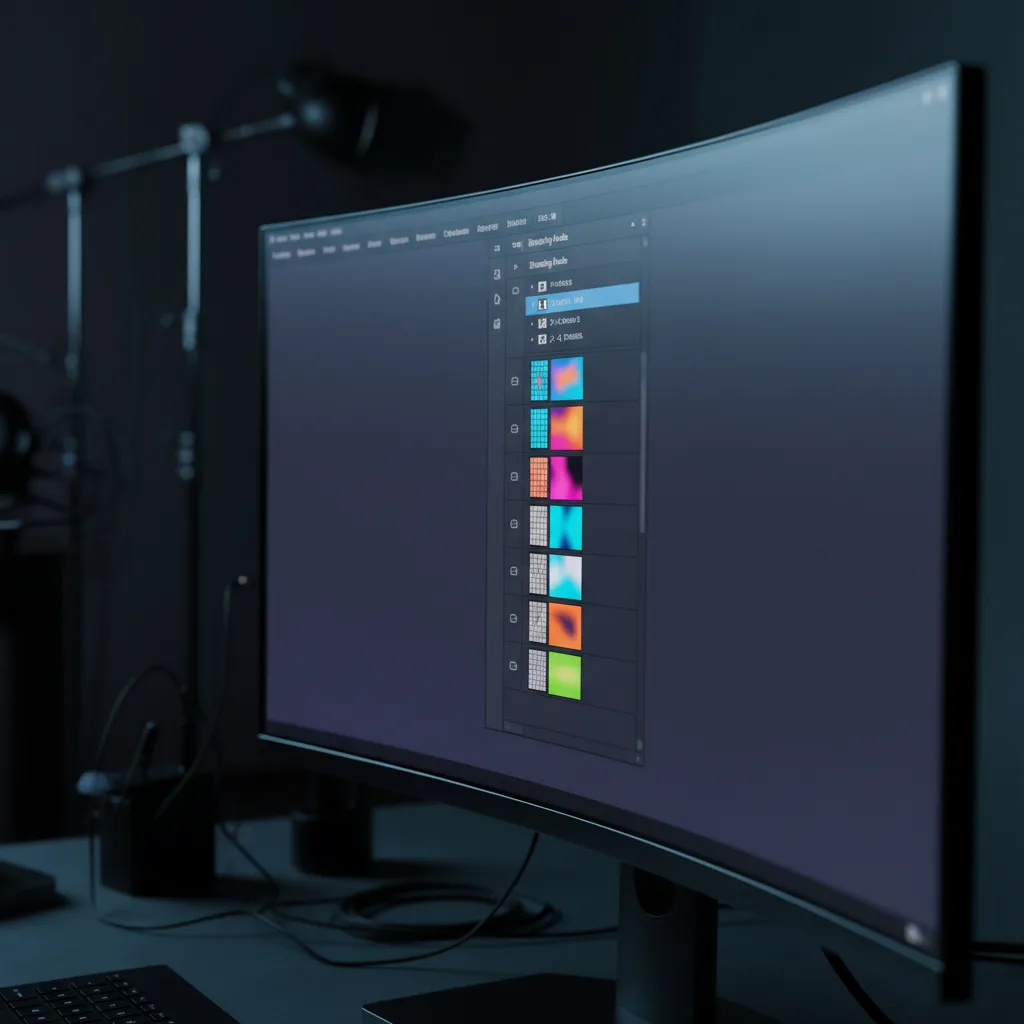
The standard tutorial approach to blending modes is a grid of before/after images: here’s what Multiply does to a photo, here’s Overlay, here’s Soft Light. It’s useful as a reference. It’s not useful for understanding what’s actually happening, because it skips the part that makes the results predictable.
Blending modes are math. Each one is a formula that takes the pixel value of the layer you’re blending (the “blend layer”) and the pixel value of what’s beneath it (the “base layer”), runs a calculation, and outputs a result. Once you know the formula, you can predict what any combination of colors will produce. You stop guessing and start choosing.
The pixel values Photoshop uses run from 0 to 1 in the formulas, even though the interface shows 0 to 255. A pure white pixel is 1. A pure black pixel is 0. A 50% gray is 0.5. Keeping that in mind makes the math easier to follow.
The Multiply Group
Multiply is the one most designers encounter first, usually when they’re trying to remove a white background from a scan or a texture. The formula is simple: base times blend equals result.
If you multiply any color by white (1), you get the original color back unchanged. If you multiply anything by black (0), you get black. If you multiply two mid-tones, you get something darker than either. That’s the entire behavior of Multiply: it can only make things the same or darker, never lighter. White on a Multiply layer is invisible. Black is completely opaque.
This is why it’s the right choice for ink textures, watercolor washes, and hand-drawn linework scanned on white paper. The white paper disappears; the marks stay.
Screen is the inverse. Its formula is: 1 minus the product of (1 minus base) and (1 minus blend). In practice, this means Screen can only make things lighter. Black on a Screen layer is invisible. White is completely opaque. It’s Multiply’s mirror image, which is why it’s what you reach for to blend light sources, lens flares, and fire captured on black backgrounds.
Multiply and Screen Are Complementary
That relationship is worth pausing on. If you take any layer and set it to Multiply, then duplicate it and set the duplicate to Screen, the Screen layer undoes what the Multiply layer did. They cancel each other out. This isn’t a trick you’ll use often, but understanding it tells you something important: these two modes are mathematically inverses, not just visually opposite.
The same inverse relationship holds for most of the major blending mode pairs. Lighten and Darken are inverses. Color Burn and Color Dodge are inverses. Linear Burn and Linear Dodge are inverses. If you understand one side of each pair, you understand both.
The Overlay Group: Where It Gets Interesting
Overlay is where many designers get confused, because its behavior changes depending on whether the base layer is light or dark.
The formula switches at the midpoint. If the base pixel is darker than 50% gray (value below 0.5), Overlay applies a Multiply-like calculation. If it’s lighter than 50% gray (value above 0.5), it applies a Screen-like calculation. At exactly 50% gray, nothing happens.
What this means in practice: Overlay increases contrast. Dark areas get darker, light areas get lighter, and the midpoint stays put. A 50% gray layer on Overlay is completely invisible, which is why texture designers frequently use it: paint at 50% gray on an Overlay layer, and you can add highlights by going lighter than gray and shadows by going darker, without touching the underlying image at all.
Soft Light uses the same principle but with a gentler formula. The transition at the midpoint is less abrupt, so the contrast increase is more subtle. Hard Light is Overlay’s inverse: instead of the base layer controlling which formula applies, it’s the blend layer.
This is worth running as an experiment if you haven’t. Take an image, add a Hard Light layer with a color painted on it, then swap the two layers. Set the painted layer to Overlay instead. With Hard Light, the blend layer color drives the result. With Overlay, the base layer does. Same image, same colors, different layer order, different outcome.
Luminosity, Color, and the Separation Group
The separation modes sit apart from the others because they don’t combine pixel brightness through multiplication or addition. They separate the attributes of color (hue, saturation, luminosity) and apply only one of them.
Color mode takes the hue and saturation of the blend layer and applies them to the luminosity of the base layer. This is the correct mode for colorizing black-and-white photos, for applying a color grade without affecting tonal contrast, and for fixing selective color problems without touching the exposure. It leaves the light/dark relationships of the original completely intact.
Luminosity does the opposite: it takes the brightness values of the blend layer and applies them to the color of the base. This is less commonly used but genuinely useful when you’ve done a tone correction (curves adjustment, for instance) that shifted the colors in ways you didn’t want. Set the corrected layer to Luminosity and only the tonal changes carry through.
Hue and Saturation exist as their own modes too, though they see less use. Hue alone changes the color without touching saturation or brightness. Saturation alone changes the intensity of the existing color. Knowing they exist matters less than knowing Color and Luminosity, but they’re there when you need to make a single-attribute change.
Making Decisions Instead of Guessing
The practical payoff of understanding blending mode math is that you can think forward instead of backward. Before you try Overlay, you know it will increase contrast and that a 50% gray layer will disappear entirely. Before you use Multiply, you know white areas on that layer will be invisible and that you’re going to darken whatever is beneath. Before you try Color, you know you’re keeping the underlying tonal structure intact.
Cycling through the list to find something that looks right still has its place, especially with texture layers where you genuinely don’t know which will fit. But for intentional work, knowing the formula gets you to the right mode on the first or second try instead of the eighth.
The deeper benefit is that you can combine modes in predictable ways. A Multiply layer for the shadow pass, a Screen layer for the light pass, a Soft Light layer for a midtone contrast boost: each one is doing a defined thing, and the stack as a whole is legible. You can revisit it six months later and know exactly why each layer is there.
That’s the difference between understanding the tool and being along for the ride.